Game Development
Introduction
Everybody loves classic games. How many of you remember the retro snake game from old Nokia phones? We sure do. This is why for this lesson we decided to recreate it using HTML5. There is a great open source game development framework called Phaser that we will use. You will learn about sprites, game states and how to use the preload, create and update methods
Setup
Download a zip archive with the file structure of the game here It contains all the image assets needed for the game but no code. We will be writing this next.
Now open index.html, add a title for your page and create links to all the JS files. Later, to play the game, just open this file in your browser.
<!DOCTYPE html>
<html>
<head>
<meta charset="utf-8" />
<title>Snake Game using Phaser</title>
<script src="assets/js/phaser.min.js"></script>
<script src="assets/js/menu.js"></script>
<script src="assets/js/game.js"></script>
<script src="assets/js/game_over.js"></script>
<script src="assets/js/main.js"></script>
</head>
<body>
</body>
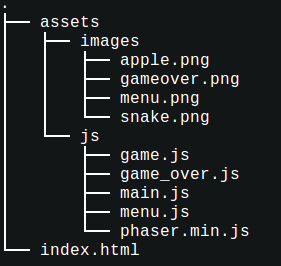
</html>Your directory should look like this:
How the Game is organized
Phaser games are organized around states. Think of states in Phaser as the different parts of a game. Here are the states of our game:
- The Menu state. It is handled by menu.js, and only displays the start image. When it is clicked, the game transitions to the Game state.
- Game state. It is handled by game.js. This is the actual play area of the game. You control the snake, eat apples and have lots of fun. When you die, you transition to the Game_Over state.
- Game_Over state. It shows gameover.png and displays your last score. When it is clicked you transition to the Game state.